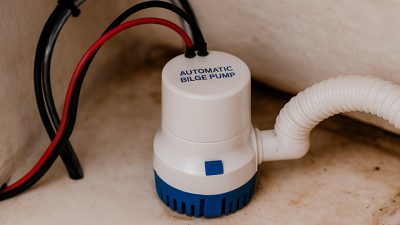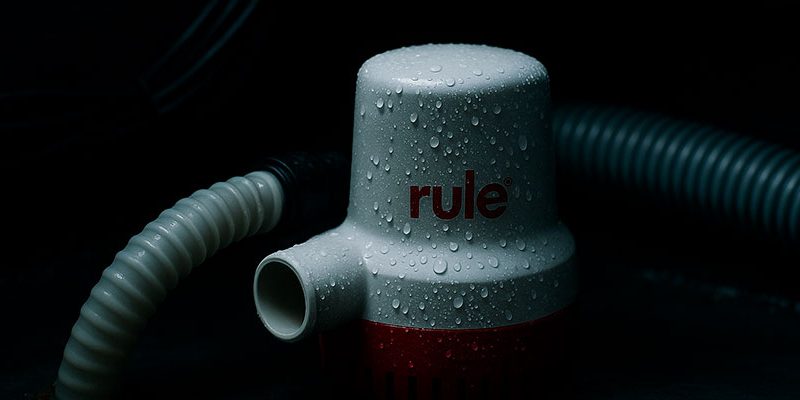
Installing a Rule bilge pump is an essential part of any boat maintenance or upgrade project. Rule is one of the most trusted names in marine bilge pumps, known for durability and performance. This guide walks you through a standard installation process using appropriate yacht equipment and boat spare parts, ensuring your bilge pump functions reliably in all conditions.
Step 1: Choose the Right Rule Bilge Pump
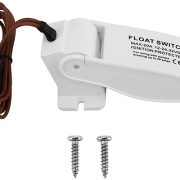
First, select a Rule bilge pump with a capacity that matches your vessel’s size. Common capacities include 500 GPH, 1100 GPH, and 2000 GPH. Check your boat’s layout and determine whether you need a manual, automatic, or float-switch activated bilge pump. Most Rule models come with or without integrated float switches.
Step 2: Gather the Required Tools and Materials
Before starting, prepare the following marine spare parts and tools:
- Rule bilge pump (model according to capacity needs)
- Marine-grade wire (12- or 14-gauge)
- Heat-shrink butt connectors
- Waterproof inline fuse holder
- Battery or power source
- Hose clamps and stainless steel screws
- Bilge hose (proper diameter: usually ¾” or 1-1/8”)
- Drill, wire stripper, and crimping tool
- Marine sealant
Step 3: Position the Pump in the Bilge
Place the bilge pump at the lowest point of your bilge, where water naturally collects. Clean the area thoroughly to ensure proper adhesion and operation. Use marine-grade sealant if the pump is mounted with a bracket or directly to the hull. If the pump has a strainer base, screw it in place securely using corrosion-resistant yacht equipment.
Step 4: Install Discharge Hose
Attach a bilge pump hose to the discharge port. Use a smooth, non-kinking marine hose with a loop (anti-siphon loop) above the waterline to prevent backflow. Secure the hose with stainless steel clamps, and route it to an overboard thru-hull fitting. Avoid sharp bends and make sure the hose has an uninterrupted path.
Step 5: Connect the Wiring
All Rule bilge pumps require marine electrical connections:
- Connect the positive (red) wire to a fused switch or directly to the battery (depending on manual or automatic operation).
- Connect the negative (black) wire to the battery ground or grounding bus.
- Use marine-grade connectors and seal all connections with heat shrink tubing to prevent corrosion.
- If using a Rule automatic bilge pump with a built-in float switch, connect according to the three-wire setup (automatic/manual/ground) as per the Rule wiring diagram.
- Install a fuse rated for the pump’s amperage draw—typically 2.5 to 10 amps depending on the model.
Step 6: Test the System
Before finalizing installation:
- Pour water into the bilge to ensure the pump activates correctly.
- Check all connections for leaks.
- Verify that the water is expelled through the thru-hull fitting.
- Confirm that the pump shuts off when the water is cleared (for automatic models).
Final Tips
- Always use marine-certified components to ensure longevity in saltwater environments.
- Regularly inspect your Rule bilge pump, hoses, and electrical system as part of scheduled yacht maintenance.
- Keep spare bilge pump parts such as float switches, fuses, and hose clamps onboard.
By following these steps and using the correct boat spare parts, your Rule bilge pump will provide reliable service for years. Whether you’re outfitting a small sailboat or a large yacht, a properly installed bilge system is key to safety and performance at sea.